Week 16: Wildcard Week
Embroidery machine
For this week, I chose to work with the embroidery machine. I had never used one before, so it was a new experience for me. I learned how to use the machine and tinker with designs for embroidery.
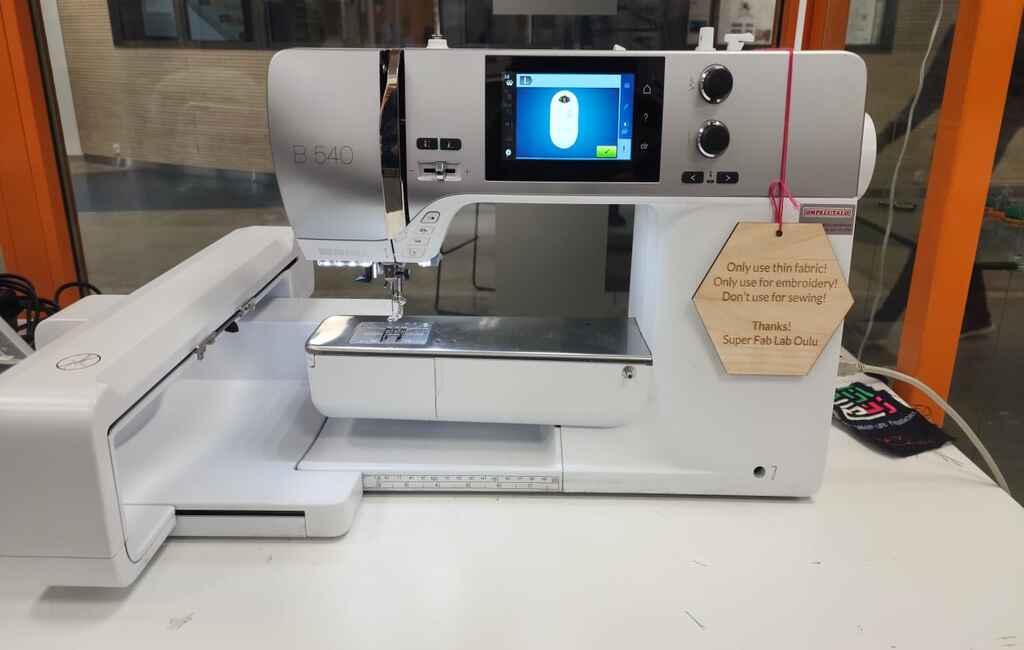
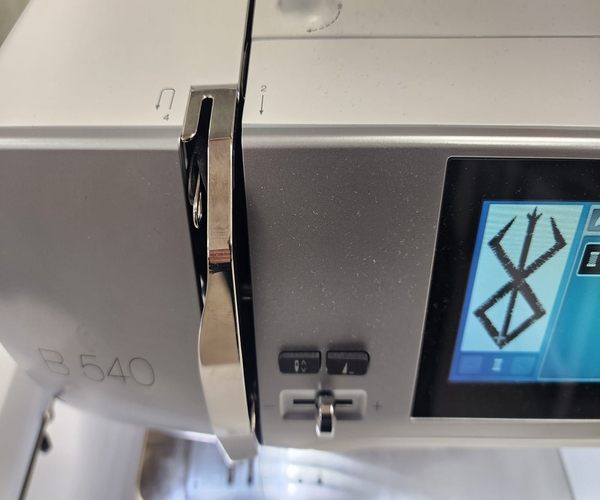
The machine I am using is Bernina B540.
Designing the Embroidery
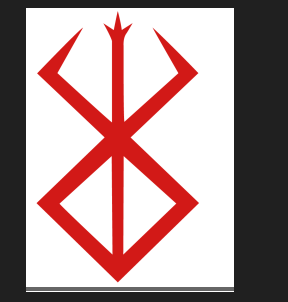
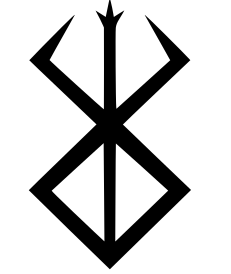
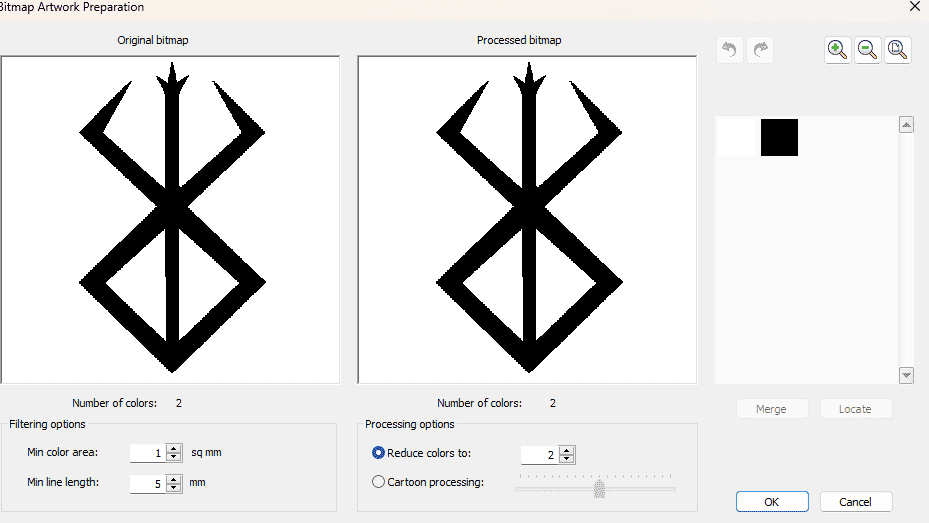
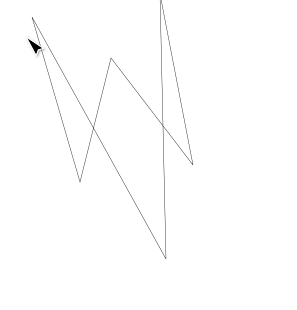
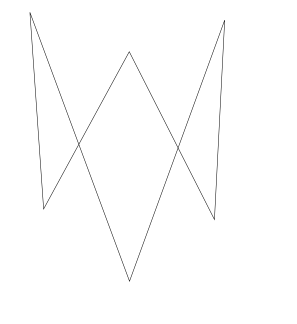
For the design I didn't want to go and do anything complex so I just got an image from the web. I choose the berserk logo same one I did back inweek 3. I imported it into inkscape While the Bernia has its own software, I found it easier to use Inkscape for the design. I imported the image into Inkscape and then traced it to create a vector file.
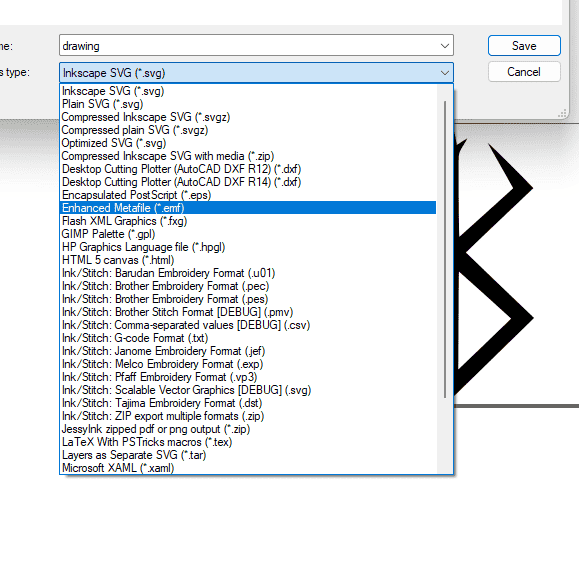
Then I exported the design. For the design to be imported into bernia it has to be saved in the emf format.
Bernia
I first opened the Bernina software.
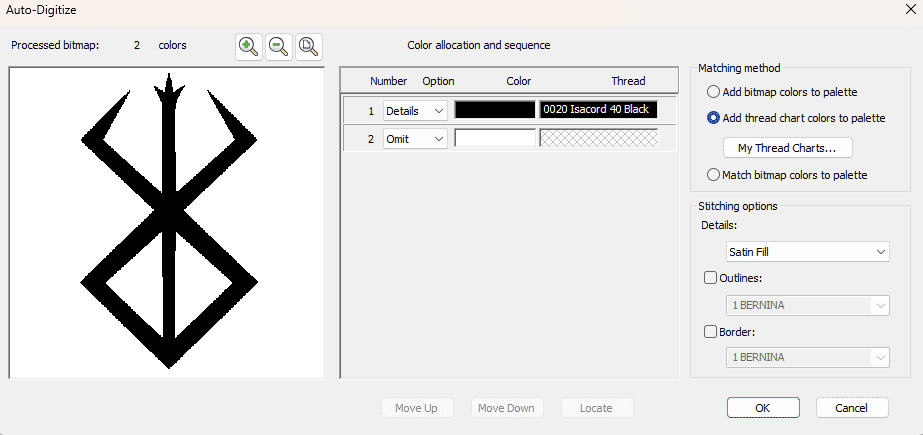
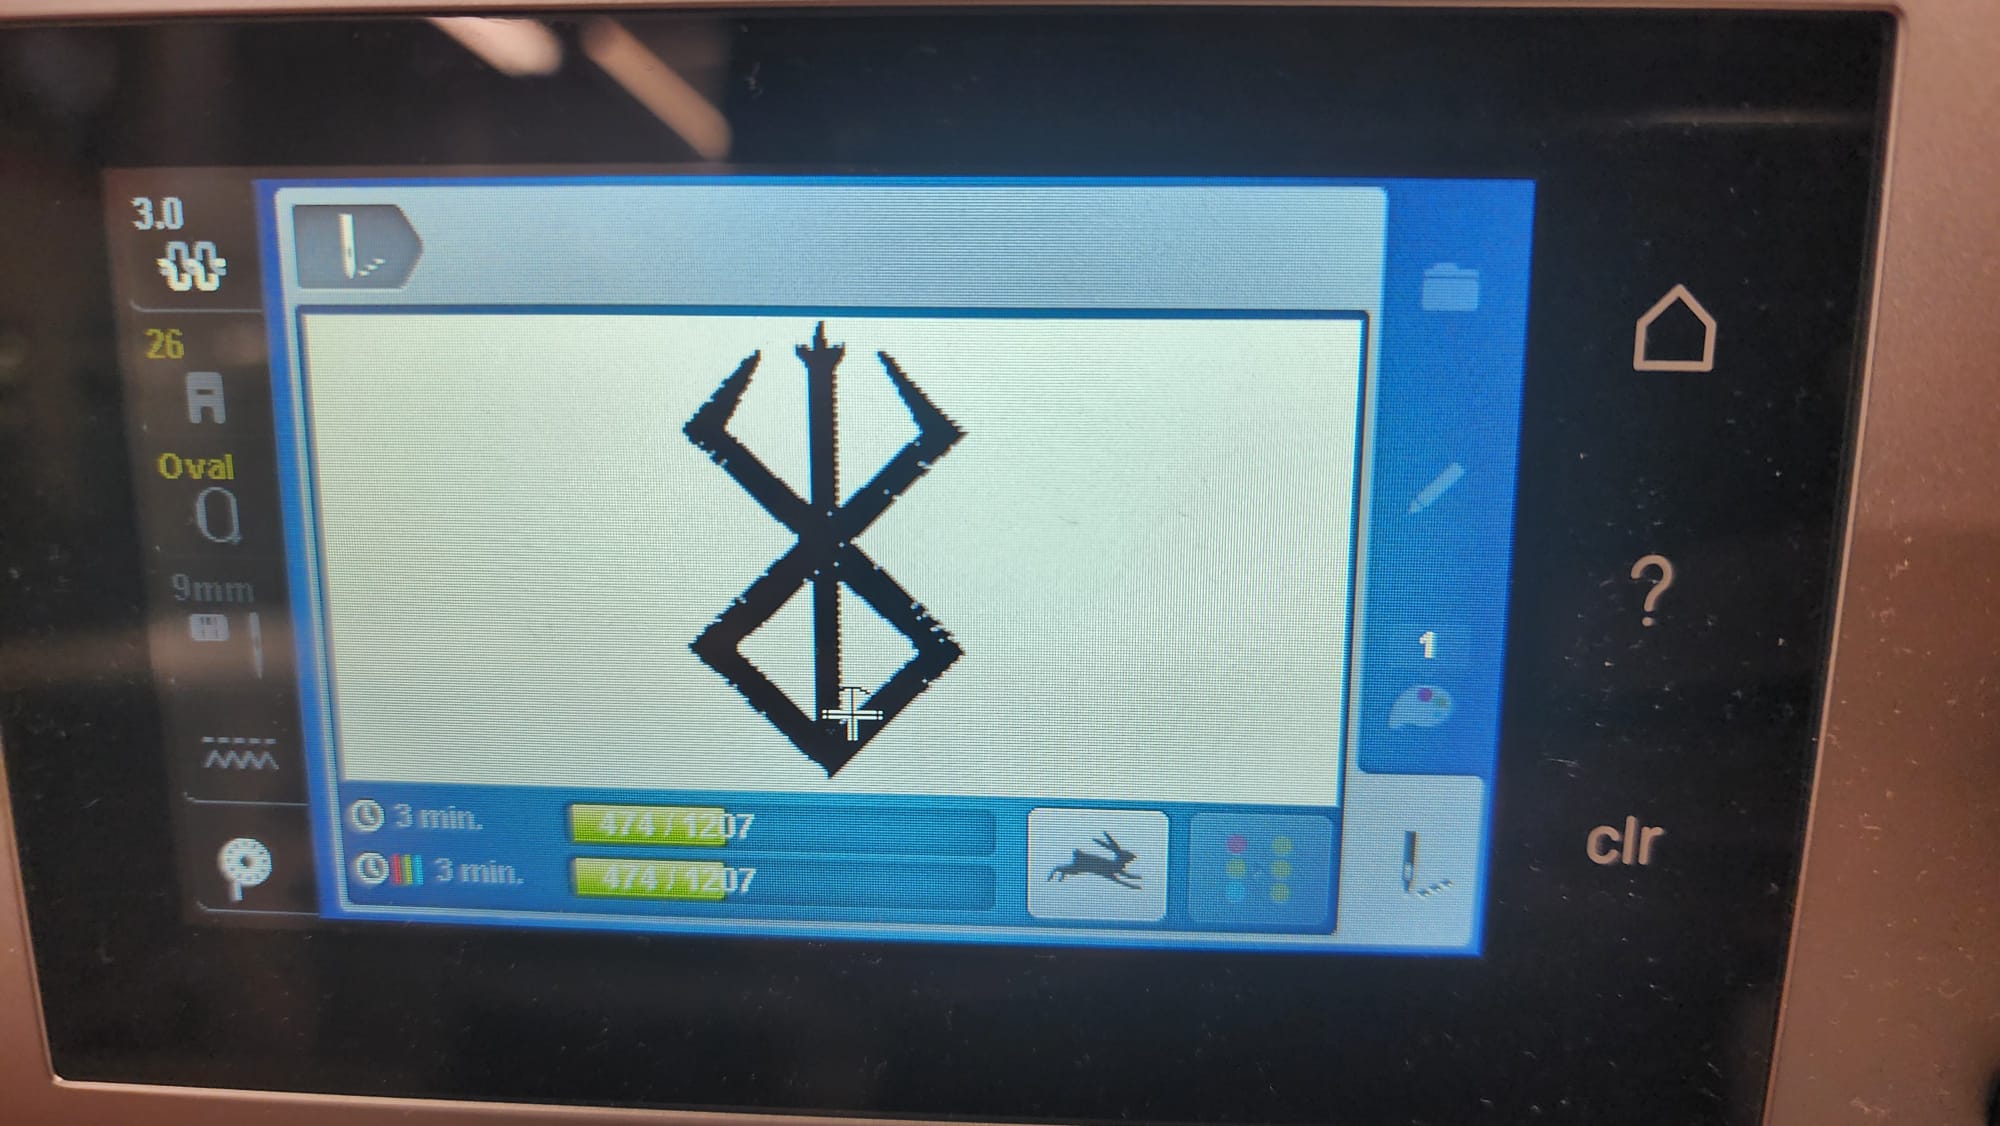
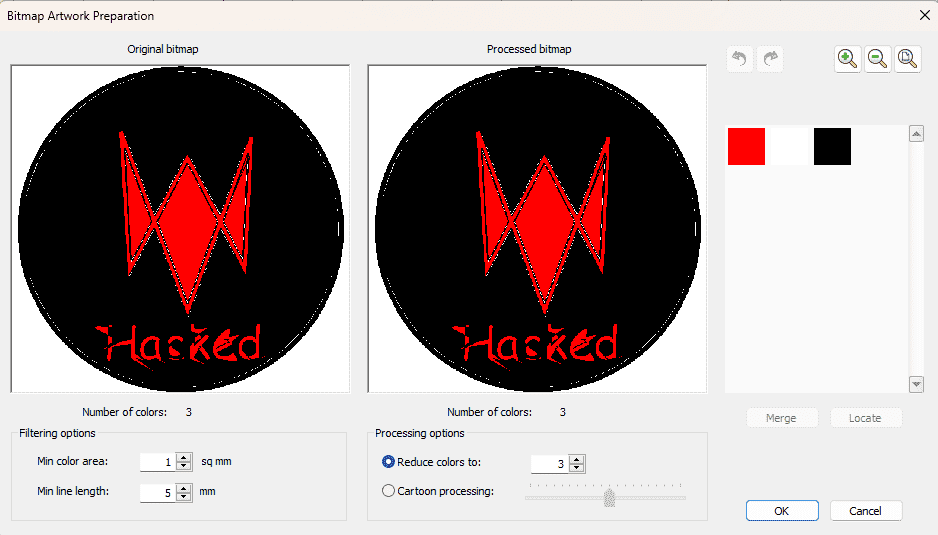
Then I imported the artwork into Bernina and used the auto digitize function.
This scans the image for the colours and lets you know the colours of the image. Here if the image has more colours they can show up in different shades of the same colour and if that happens you can just merge the different colours into one. Lastly, you can remove the background colour by just having it on omit. Though, ultimately the colours in the software don't matter as much since you just select the colour of the threads yourself.
Then you plug the usb of the Bernina into your computer and send the file over to it.
Preparing the Fabric
First you cut the fabric slighly bigger than the oval hoop so you can tighten it without any wrinkles.
.jpg)
.jpg)
Afterwards, you use the adhesive spray on the cloth and also cut the adhesive fabric to a similar size to the fabric. Then press the adhesive fabric on the cloth and make sure there aren't any wrinkles, which I wasn't able to do sadly.
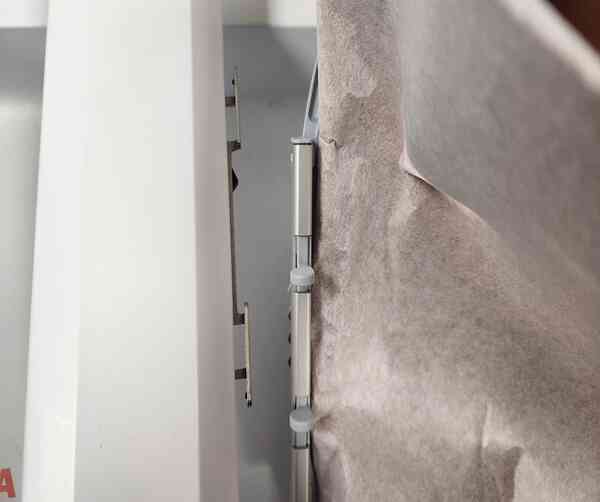
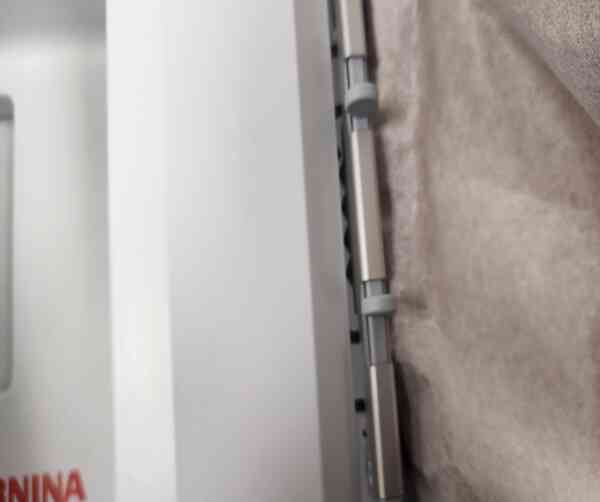
Then put one of the hoops with the lock below the cloth and the other one on the top and make sure the arrows on the hoops are on top of each other. Once it's pressed in tighten the screw.
.jpg)
.jpg)
Setting up the machine
So once I had transferred the design into the machine, I touched the home icon.
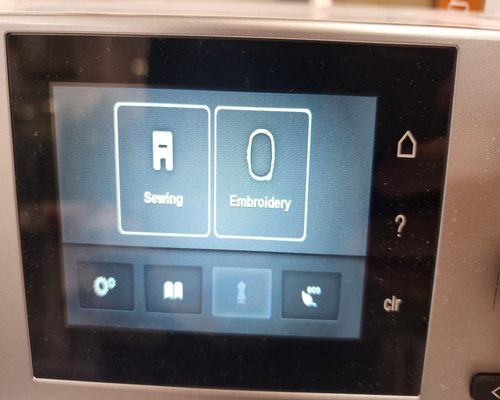
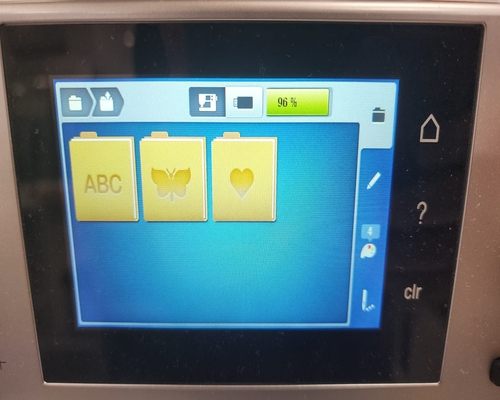
I then pressed the embroidery icon and went into the favourites folder where I found my design and selected it.
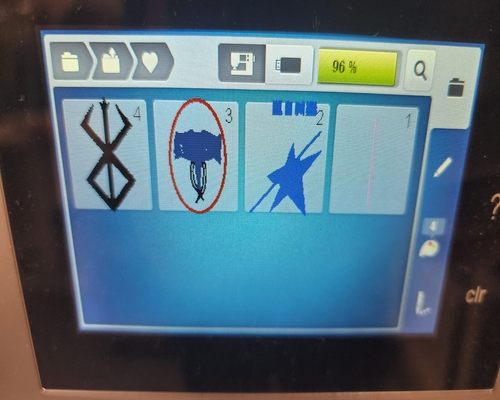
Once you have the design selected you go futher into the menu, where you select the shape, area, needle size, etc. You can either just directly drag the image where you want it to embroider or go into the info menu and select the icon and you arrow keys to do it more precisely.
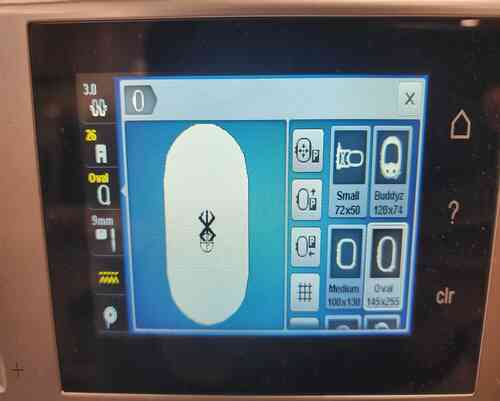
Once that is done, you go further where it shows you the order of the threads and the time it will take. Here, if you have multiple colours it will tell you the order it emrbroiders them and you have to change the thread colour each time it's done with one colour. In my case, I had just one colour.

Then I added the thread of my choice which was the blue colour.
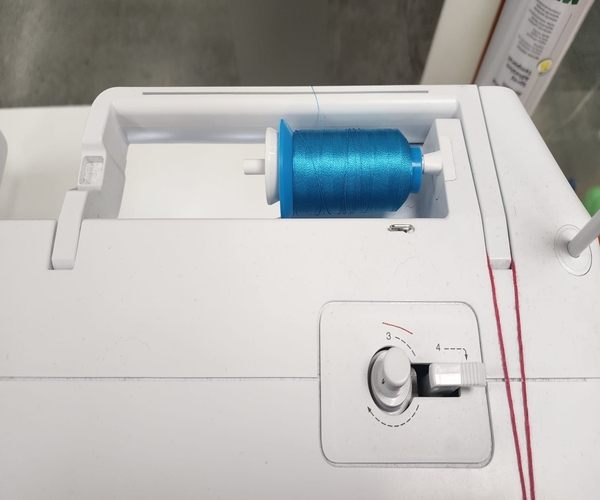
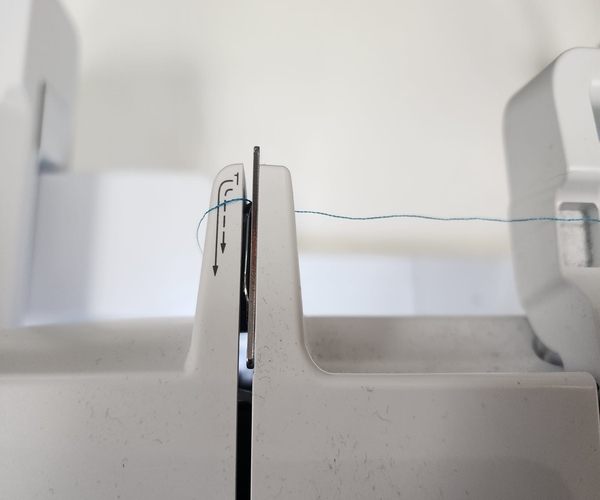
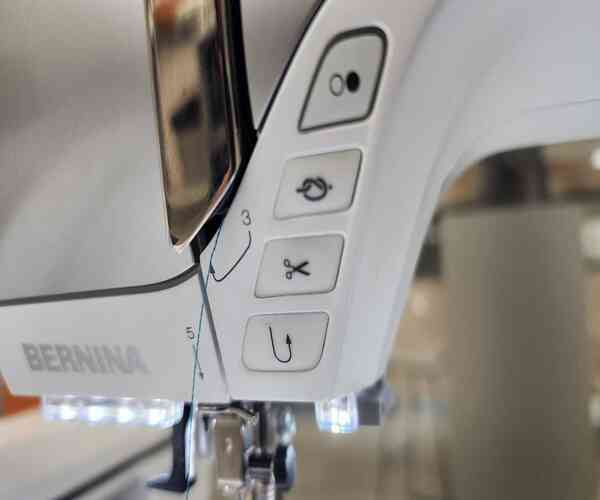
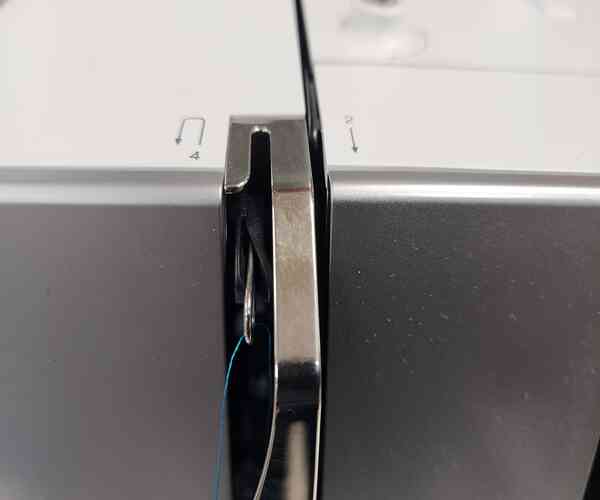
I then looped the thread around the machine using the guides on it. The final threading into the needle and below into the hole is a bit tedious and in case it isn't going through the needle you can just cut the thread slighty to get a new edge.
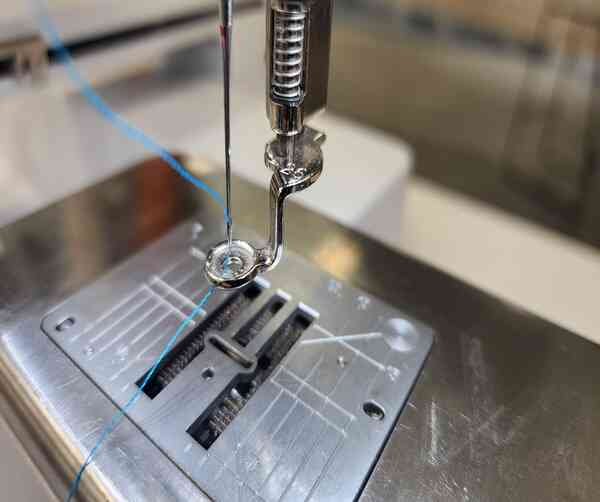
Then I picked up the emdbroidery hoop and put it into the machine. There are slots in the machine to place it. Here I encountered some issues because this machine has the tendancy to not move into the right position. So I detached the part of the bernina that you hook the hoop into and also detached the loop. After, I did this the machine was working properly and went to the correct position.
Afterwards, I pressed the green button to start the process.
.jpg)
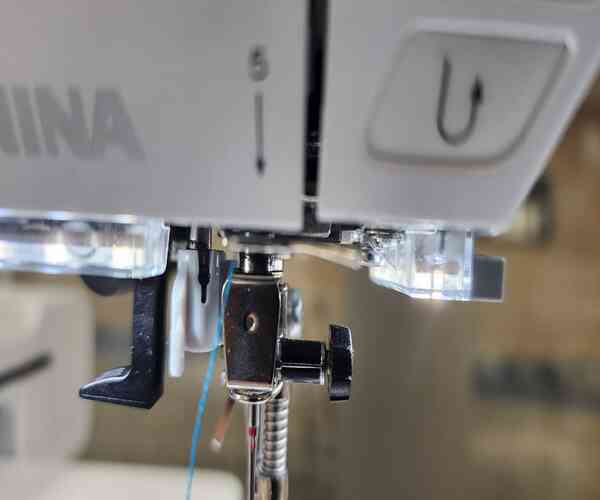
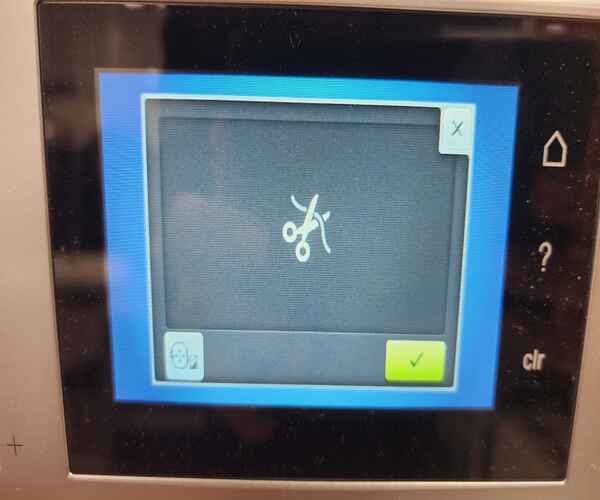
After a few seconds, a note pops up on the screen to cut the extra thread which you do using scissors. I accidently ended up cutting the thread because the scissors were sharp and had to put it through number 5 and through the needle again.
If you look at the screen it shows you where the needle is currently and how much time its gonna take to finnish.
Here is a video of the process:
Once everything was done I detached the hoop from the machine and took the fabric out.
Here is the final result:
.jpg)
New Design
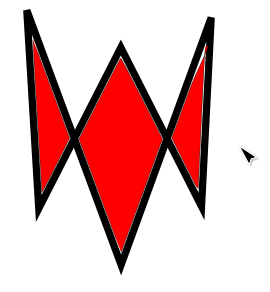
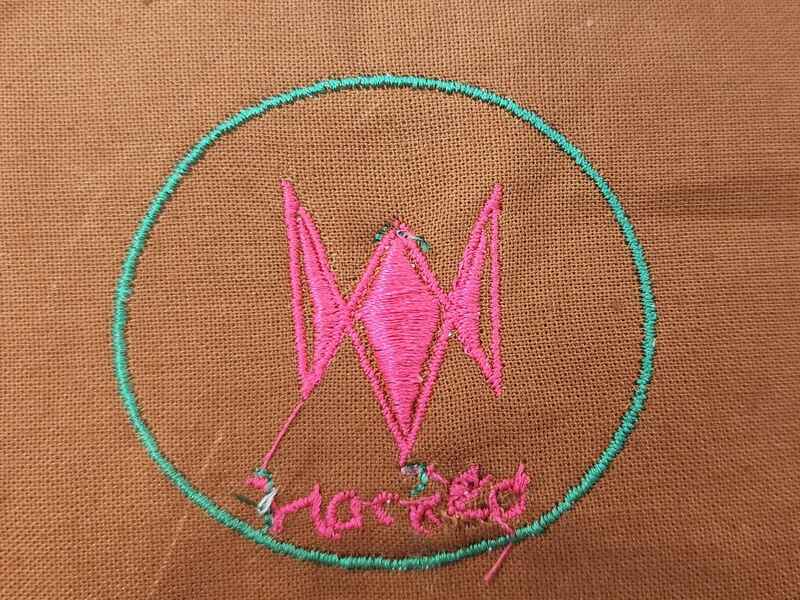
So I found out there need to be at least some changes to the design that you make yourself so I just made a new design in inkscape. It's like the watch dogs game symbol.
I started by making the main W symbol and the upside W using the pen tool. Then I used the node tool to adjust the points further.
I then changed the stroke width to 2mm and made a circle and added the symbol inside it.
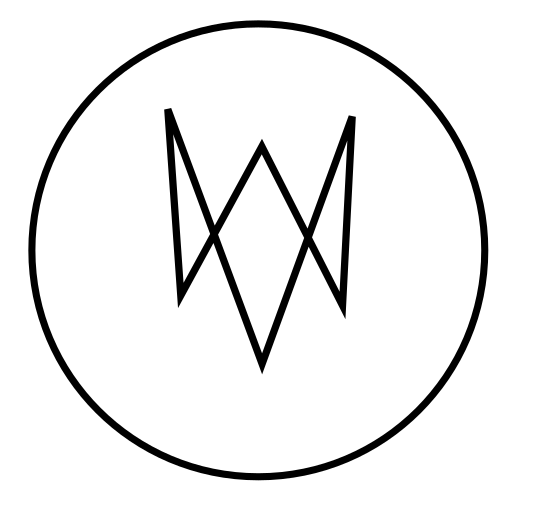
Afterwards, I added red colour inside the symbol and also converted object to path.
Then I added some text below the symbol and made some changes to the font and colour.

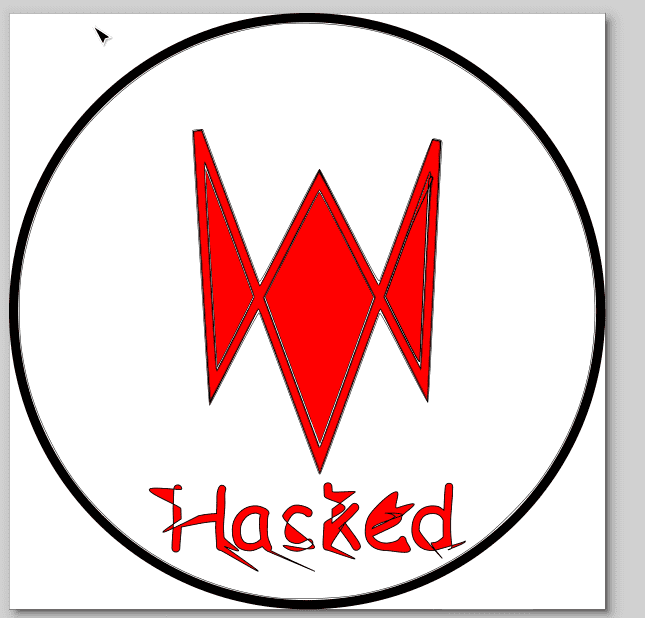
This is the final result in inkscape.

I then transferred the files to the bernia software and digitized it.
Afterwards, I did the same process as before and made the fabric and put it into the machine.
However, this was using a lot of fabric and a lot of stuff happened like the needle broke and had to change it and it went through the fabric like twice for some reason so I remove the fill from inside the circle.
Afterwards, I put the fabric into the machine and started the process again.
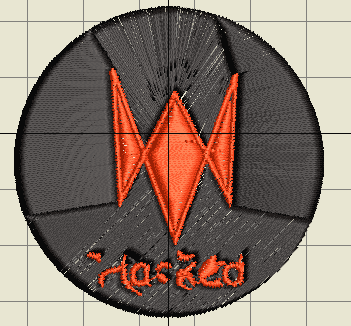
The below is the final result.
Download File
- Download old design Emf file
- Download Emf fike
- Download ART file
- Download EXP file
- Dowload Inkscape file
 ← Back to Main Page